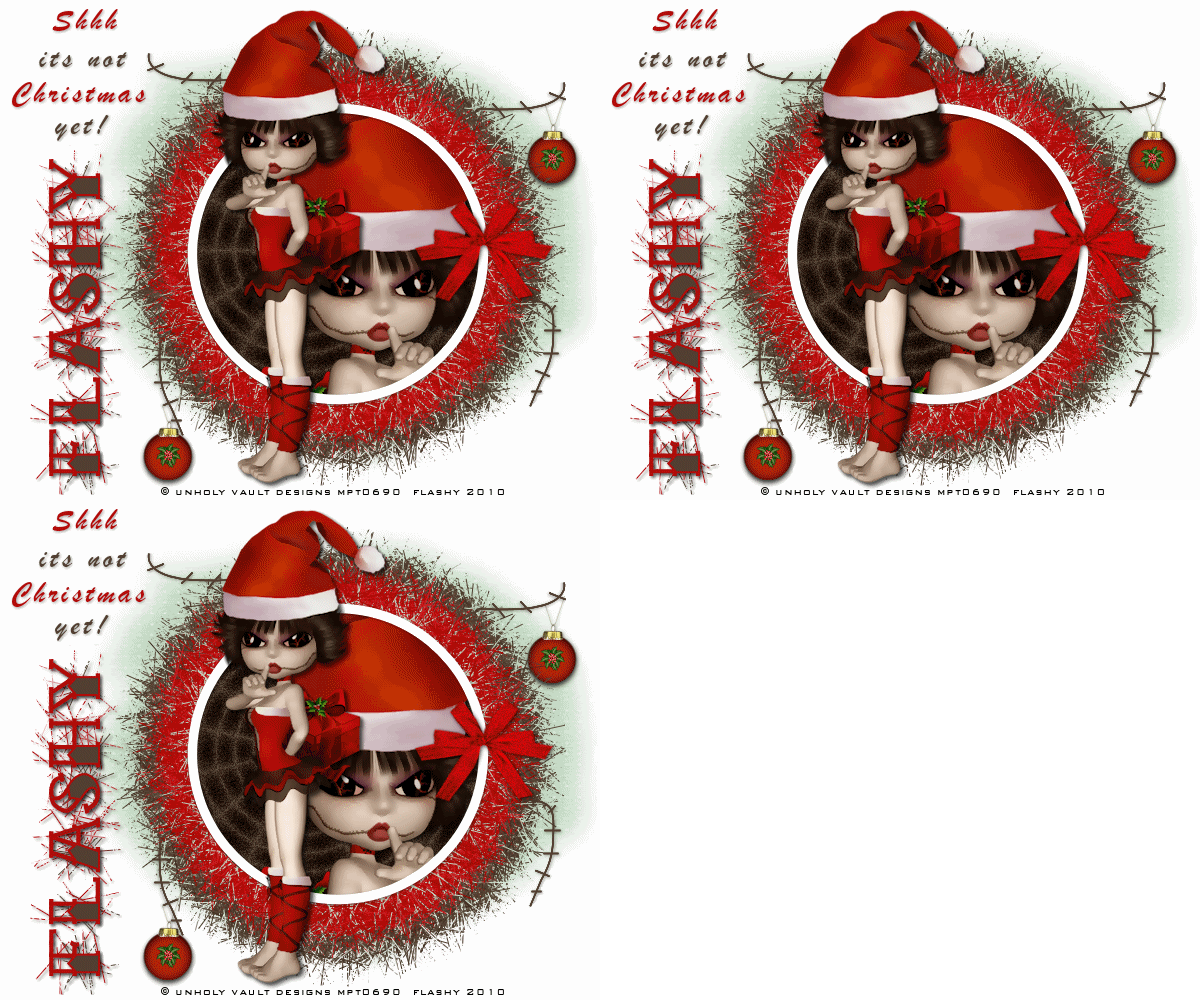
Shhh its not Christmas yet
Page 1 of 1
 Shhh its not Christmas yet

A tube of your choice. I used the lovely artwork of Unholy Vault Designs, which can be purchased here:
www.mypsptubes.com
Plugins needed:
Mehdi, fur 2, which can be found here for free:
http://mehdiplugins.com/
DSB Flux, spiders web, which can be found here:
http://www.linktipper.nl/leden/start.php?lid=7261
Supplies needed:
Mask 1, and a bauble from embellishments/Christmas, 3rd page, which can be found here on my site:
https://flashy.forumotion.co.uk
Lets begin!
Open a new image 600x500 and floodfill in white. With foreground #b5070a, background null,
draw an ellipse, width 35, stroke 1. Objects, align, centre in canvas, and convert to
raster layer. Go to adjust, and add/remove noise, add noise. Use the settings as below:
Check uniform
Tick monochrome
Noise 20%
Plugins, and Mehdi, fur 2, use the settings as below:

This gives a tinsel look to the frame. Now for another frame, and this will be the inner frame.
With foreground white, background null, width 10, draw a circle to fit inside the red frame, and
convert to raster layer. Drag this layer to the top. Click inside the white frame with the magic wand.
Selections, modify, expand by 2. Now click on the red frame layer and hit delete. Deselect.
Drop shadow only the white frame as follows:
V=2
H=2
O=60
B=4.30
Col=black
Now for the outer frame. I chose a brown to match my tube, foreground #524031, background
null, width 33. Draw an ellipse and convert to raster layer. Add noise as before, and fur 2.
Drag this layer below the red frame.
Add a close up of your tube as a new layer. Click inside the white frame with
the magic wand, selections, modify, expand by 4, selections invert. Now click
on the tube layer and hit delete, and deselect. Add a drop shadow. Drag this layer below the frames.
Click on raster layer 1, and with foreground null, background #524031, draw an ellipse
for the background, making sure it does not show through the other frame layers. Convert
to raster layer. Adjust, add/remove noise, same settings as before. Rename 'web'.
Add your main tube as a new layer, and position more to the left of the frames. Drop shadow.
X out raster layer 1, and the brown 'web' layer and merge visible.
Un X both layers. Move the merged layer over to the right a little, carefully placing the 'web'
layer in the centre again.
For your name, the font used is Tattoo Ink, size 22, stroke 2, foreground #b5070a,
background #524031. Apply, and convert to raster layer. Image, free rotate, 90
degrees left. Position near the bottom left hand side of the tag. Duplicate, and
use the fur 2 settings, changing the density only to 66. Drag this layer, below your
name layer. Add a drop shadow to both the name layers, and merge just these two layers.
For the word art, the font used is Brush Script MT, size 11, in the same colours as above.
Convert to raster layer and move to the top left hand side of the tag.
Click on raster layer 1, and add a new layer, and floodfill in #076707. Go to layers, new mask layer
from image, and chose Mask 1 from the source window. Make sure source luminace, and invert mask data
are checked and apply. Merge group and resize to 120%. Arrange the mask so it is equal on both
left and right hand edges around the frame.
Add the bow as a new layer, and place on the middle right hand side of the frame.
Using the pen tube, freehand, foreground #524031, background null, draw a sqiggly line, and add dashes.
convert to rater layer and duplicate. Add a drop shadow. Make sure these two layers are above the mask.
Add a bauble from my site, (embellishments, christmas things, 3rd page) and place it so it is hanging
from the stitched thread. Duplicate for the other side. These two layers go below the stitched thread.
Add your credits.
Click on the web layer. Go to plugins and DSB Flux, spiders web. Use the settings as below:

Open Animation Shop, and copy merged over to AS, paste as a new animation. Back to PSPro, and use the back
button to undo the spiders web setting. This time change the rays to 13, and copy merged to AS. Paste after
the current frame. Repeat this once more, changing the rays to 14.
In AS, go to edit and select all. Go to Animation, and frame properties. Change the display time
to 20. Now animate!
Save as a GIF file.
Thats it, we are all done. I hope you enjoyed this tutorial.
© Flashy
18th November 2010
18th November 2010

flashy- Admin
- Posts : 496
Join date : 2010-03-11
Page 1 of 1
Permissions in this forum:
You cannot reply to topics in this forum